
Christina Madison
Figma
8 de março de 2022
4
minutos de leitura
Figma is a popular design tool that has gained a reputation for its usability and versatility in creating user interfaces. However, many people may not realize the full extent of its capabilities in illustrating and drawing.
Figma’s vector editing tools allow for precise and efficient drawing, making it a suitable tool for creating intricate illustrations and graphics.
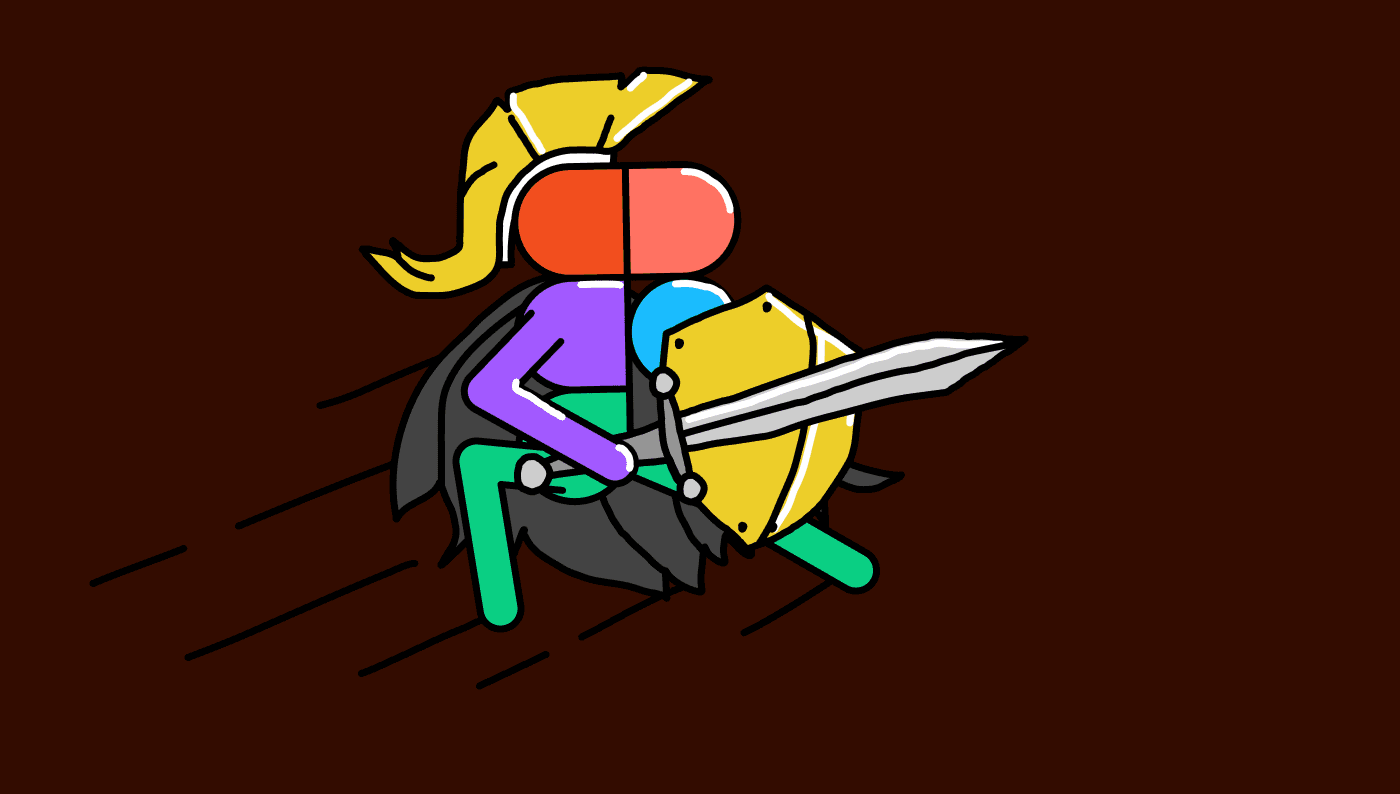
I mean just look at some of the illustrations people like vijay verma are making with Figma — it’s astonishing!
Follow along on YouTube
There is a video version of this article available if you’d like to follow along
1. Pen vs Pencil
To start off any illustration it’s important to note which style works best for the piece. Using the pencil tool gives a more “hand-made” feeling while the pen tool allows for smoother edges and more polish.
SHIFT + P: Pencil tool
P: Pen tool
2. Create a union
When we’re drawing many paths and want to then bring them together we can use CMD + E (Windows: CTRL + E). This allows us to draw in multiple strokes and then join those lines together into one shape.
3. Join paths
Once those paths are flattened into one shape we can join the points using CMD + J (Windows: CTRL + J).
You can also try CMD + SHIFT + J (Windows: CTRL + J) to use the smooth join tool.”
You can also simply press P to pull out your pen tool and then connect the paths that way.
4. Editing anchor points
When you have a path created and you’d like to edit its anchor points, simply press Return (Windows: Enter) to drill in and view the anchor points.
5. Edit anchors using the bend tool
Once you’ve drawn out your path you can make edits independently to anchor points and their curves by holding CMD (Windows: CTRL).
2. To edit a single curve, hold Option (ALT) while pulling a handle.
3. To remove the curves from a point, hold CMD (CTRL) and click the anchor point.
6. Get rid of anchor points you don’t need
To remove anchor points we don’t want, open the pen tool using P then hold Option (ALT) and click unwanted anchor points to remove them.
7. Swap fill and stroke
Use Shift + X at any point to swap the fill and stroke colors on an illustration. Keep pressing to toggle between.
8. Remove fill or stroke
Shift + / to remove the stroke
Option + / (Windows: ALT + /) to remove fill
9. Use the paint bucket
Press B at any point while editing a shape to fill it with a color. You can also use I to grab a color with the eye dropper.
10. Remove lines between anchor points
To remove the lines between anchor points, simply select the line you want to remove and click Delete (Windows: Backspace).
Christina Madison
Christina, a self-taught graphic designer and prolific blogger, focuses on how good design can lead to business success. With a keen eye for user experience and brand identity, Christina's writings offer practical insights and inspiration for both up-and-coming and established designers. Their approachable, hands-on advice has helped countless individuals transform their ideas into tangible, beautiful realities.
More articles by
Christina Madison